Wilderness First Aid: Essential Skills for Remote Emergency Response
Last updated: October 9, 2026 · Originally published September 28, 2026
Wilderness first aid works under different constraints from the everyday kind, because in the backcountry a hospital can be hours away.
Wilderness first aid operates under a fundamentally different set of constraints than standard first aid. When an injury occurs in the backcountry, a hospital may be hours or days away, 911 dispatch cannot reach you by road, and the tools available are whatever you carried in. The skills that matter most are not the same ones you’d use in a suburban driveway — they’re the subset that stabilizes a patient through the evacuation window and prevents a manageable injury from becoming a fatal one.
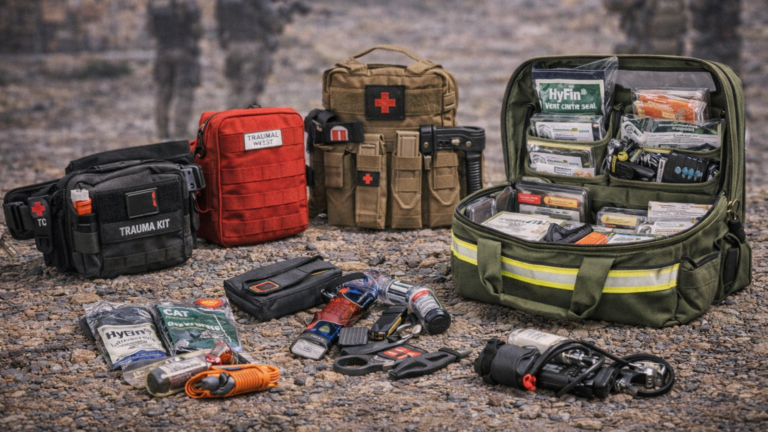
This guide covers the essential principles of wilderness first aid: patient assessment, severe bleeding control, hypothermia and heat illness, spinal injury management, improvised splinting, and the evacuation decisions that determine whether a patient is carried out immediately or treated in place. For the gear that supports these skills, see the best first aid kit guide and the survival shelter guide.
The Patient Assessment System
Every wilderness first aid response begins with the same systematic assessment — regardless of what the emergency appears to be. Skipping this step to treat an obvious injury causes responders to miss the life-threatening problem that isn’t obvious.
Scene Safety First
Before approaching any patient, stop and assess the scene. Is the hazard that injured the patient still present? A lightning strike victim on an open ridge, a drowning victim in moving water, or a fall victim on unstable terrain — approaching without scene control creates a second victim. Confirm the scene is safe or create safety before patient contact.
Primary Survey: ABCDE
The primary survey identifies immediately life-threatening conditions in priority order:
- Airway: Is the airway open? Unconscious patients often have airway obstruction from tongue position or fluid. Tilt the head back and lift the chin (unless spinal injury is suspected — then jaw thrust without head tilt). Clear visible obstructions with a finger sweep.
- Breathing: Is the patient breathing? Look for chest rise, listen for breath sounds, feel for air movement. If not breathing and no pulse — begin CPR. If breathing adequately, move on.
- Circulation/Bleeding: Control severe bleeding immediately. This is where massive hemorrhage control belongs — before a detailed head-to-toe exam.
- Disability: Assess neurological status. Is the patient conscious? Responsive to voice? Pain? Oriented to person, place, time? Use AVPU (Alert, Voice, Pain, Unresponsive) for rapid baseline.
- Exposure: Expose and examine the body for injuries not visible through clothing. In cold environments, balance the need to examine against heat loss — work quickly and re-cover.
Secondary Survey: Head-to-Toe
Once life threats are controlled, conduct a systematic head-to-toe physical exam. Run your hands over the entire body feeling for deformity, instability, crepitus (bone grinding), swelling, wounds, and tenderness. A DCAP-BTLS check (Deformity, Contusions, Abrasions, Punctures/Penetrations, Burns, Tenderness, Lacerations, Swelling) at each body region ensures nothing is missed.


Severe Bleeding Control
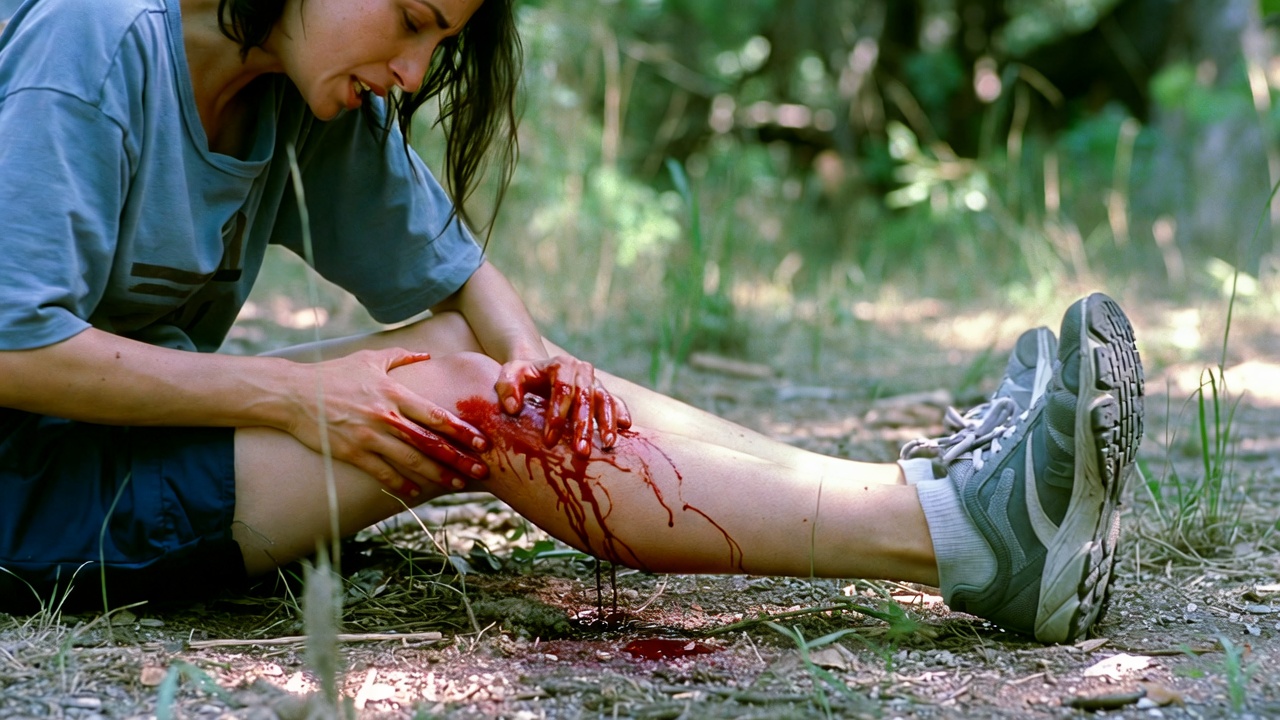
Uncontrolled hemorrhage is the leading preventable cause of death from traumatic injury. The correct hierarchy of bleeding control is direct pressure, wound packing, and tourniquet — with tourniquet applied immediately for extremity bleeding that won’t stop with pressure or is incompatible with survival without it.
Direct Pressure
Apply firm, direct pressure with the cleanest material available — sterile gauze is preferred, but any cloth works in an emergency. Press hard and hold without releasing to check for 5–10 minutes. Most wounds stop bleeding with sustained pressure. The failure mode is premature release — checking whether bleeding has stopped before adequate time has passed.
Wound Packing
For deep wounds that can’t be controlled with surface pressure — particularly junctional wounds (groin, armpit, neck) or deep lacerations — pack the wound cavity tightly with gauze and apply firm direct pressure over the packed material. Hemostatic gauze (QuikClot, Celox) accelerates clotting significantly. Pack the gauze all the way to the bottom of the wound cavity and apply firm, sustained pressure for a full 3 minutes.
Tourniquet Application
For extremity bleeding from traumatic wounds — gunshot wounds, degloving injuries, severe lacerations with arterial involvement — apply a tourniquet when direct pressure is failing or when the rate of blood loss is incompatible with survival through evacuation time.
- Apply 2–3 inches above the wound on the extremity (not over a joint)
- Tighten until bleeding stops — a tourniquet that doesn’t stop bleeding is worse than no tourniquet because it impedes venous return without stopping arterial flow
- Note and record the exact time of application — critical information for medical personnel
- Do not remove the tourniquet in the field once applied — that decision belongs to physicians
- A commercial tourniquet (CAT, SOFTT-W) is far more effective than improvised tourniquets, which frequently fail to generate adequate pressure
Hypothermia: Recognition and Field Treatment
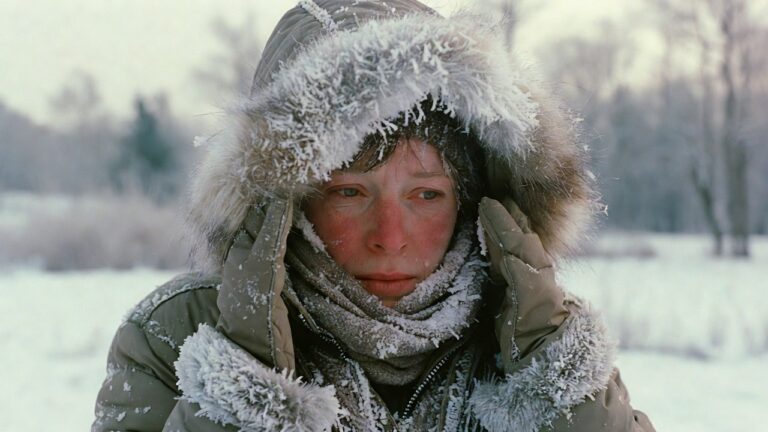
Hypothermia occurs when core body temperature drops below 95°F (35°C). It’s one of the most common wilderness emergencies and one of the most preventable. The key field skill is recognition — hypothermia impairs judgment, causing patients to make decisions that accelerate their deterioration.
Stages and Signs
- Mild hypothermia (90–95°F / 32–35°C): Shivering, poor coordination, slurred speech, confusion, poor judgment. Patient is still capable of generating heat through shivering. Treatment: remove wet clothing, insulate, provide warm (not hot) fluids if conscious and able to swallow.
- Moderate hypothermia (82–90°F / 28–32°C): Shivering stops (paradoxically — the patient may feel warmer). Muscular rigidity, decreased consciousness, bradycardia. This is a serious emergency. Handle gently — moderate hypothermia patients are at risk for cardiac arrhythmia from physical disturbance.
- Severe hypothermia (below 82°F / 28°C): Unconscious, no shivering, barely perceptible pulse and respiration. May appear dead. “Not dead until warm and dead” — resuscitate and rewarm before declaring death in the field.
Field Rewarming
- Remove wet clothing — wet clothing conducts heat away from the body 25x faster than dry clothing
- Insulate from the ground — ground contact conducts heat loss more rapidly than air exposure
- Use a sleeping bag, blankets, emergency mylar blanket, or any available insulating material
- Add chemical heat packs to armpits and groin (high-vascularity areas) — but not directly against skin
- For severe hypothermia: rewarm passively (insulate and let body rewarm naturally) rather than actively — rapid active rewarming causes peripheral vasodilation and core temperature afterdrop
- Avoid giving alcohol or stimulants — alcohol causes vasodilation and accelerates heat loss
Heat-Related Illness
Heat Exhaustion vs. Heat Stroke
The critical distinction: heat exhaustion leaves mental status intact; heat stroke involves altered or absent mental status. Heat stroke is a life-threatening emergency requiring immediate aggressive cooling.
- Heat exhaustion: Heavy sweating, weakness, cool pale skin, weak pulse, nausea, headache, dizziness. Mental status normal. Treatment: move to shade or cool environment, hydrate with water containing electrolytes, cool the skin with wet cloths, rest.
- Heat stroke: High body temperature (103°F+), hot dry skin or heavy sweating, rapid strong pulse, altered mental status (confusion, loss of consciousness). This is an emergency. Cool the patient immediately by any means available: immerse in water, apply ice packs to neck, armpits, and groin, fan while misting with water. Evacuate immediately.
Head, Neck, and Spinal Injury
Spinal injury management in wilderness settings involves a tradeoff that differs from urban EMS: the standard “immobilize everyone” approach is not always appropriate when evacuation is hours away and rigid spine boards are unavailable.
Mechanism of Injury Assessment
Suspect spinal injury in: falls from height (over 3x the patient’s height), vehicle accidents, diving into shallow water, lightning strike, significant blunt trauma to the head or back. Absence of pain does not rule out spinal injury in an unconscious patient.
Field Spinal Immobilization
If spinal injury is suspected: manually stabilize the head in neutral position (looking straight forward), minimize all movement, and maintain stabilization throughout assessment and treatment. Log roll the patient as a unit to move if necessary — keep head, neck, and trunk aligned during any movement. Improvised cervical collars from clothing, foam pads, or SAM splints provide additional stabilization during evacuation but do not replace manual stabilization.
When to Move Despite Suspected Spinal Injury
Move the patient despite suspected spinal injury when: the scene is immediately dangerous (wildfire, flooding, ongoing hazard), the patient is not breathing and needs positioning for airway, or the patient is unconscious and vomiting (recovery position to prevent aspiration, accepting spinal movement risk). Spinal injury risk must be weighed against immediate life threat.
Improvised Splinting
Immobilizing fractures and dislocations prevents further injury, reduces pain, and makes evacuation possible. Improvised splints using available materials can adequately stabilize most fractures until definitive care is available.
Splinting Principles
- Immobilize the joint above and below any suspected fracture
- Pad all bony prominences to prevent pressure injuries during evacuation
- Check circulation, sensation, and movement (CSM) before and after splinting — tight splints can compromise blood flow
- SAM splints (aluminum-core moldable splints) are the best carried splint material — they weigh 2 oz and handle any limb
- Improvised materials: sticks, trekking poles, rolled sleeping pads, rigid clothing items — anything stiff enough to prevent movement at the fracture site

Evacuation Decisions
One of the most important wilderness first aid skills is knowing when a patient requires immediate evacuation vs. when they can be treated in place and monitored. The general principle: err toward evacuation when in doubt.
Evacuate Immediately
- Any altered mental status or unresponsiveness
- Suspected spinal injury
- Chest pain or difficulty breathing
- Severe or uncontrolled bleeding
- Moderate or severe hypothermia
- Heat stroke
- Suspected fracture of femur (thigh), pelvis, or spine
- Anaphylaxis (even if resolved with epinephrine — reaction can recur)
- Any condition worsening over time
Signaling for Rescue
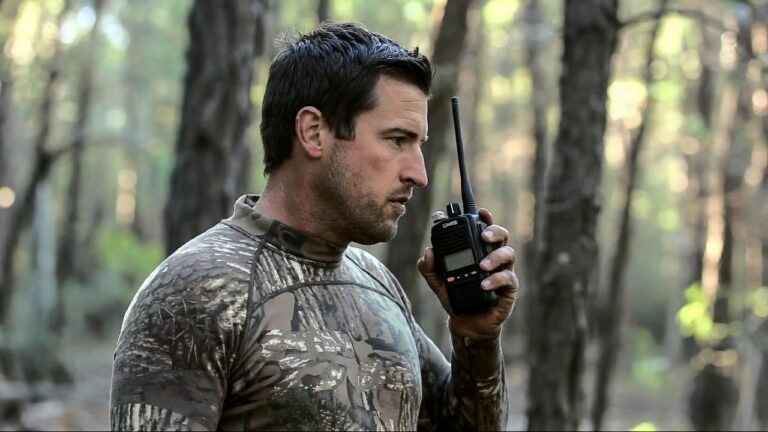
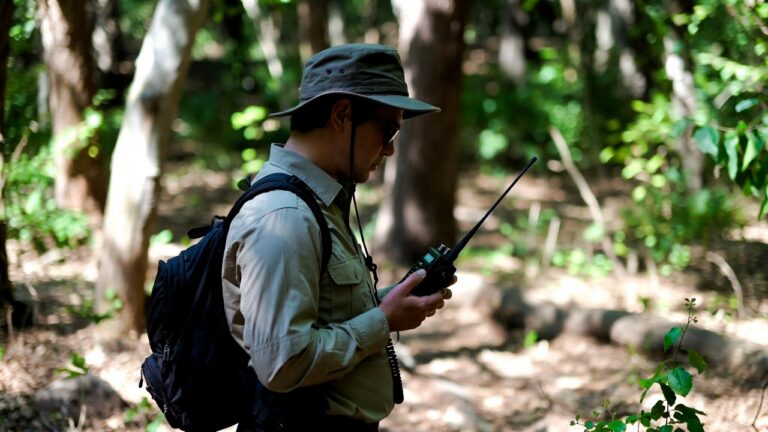
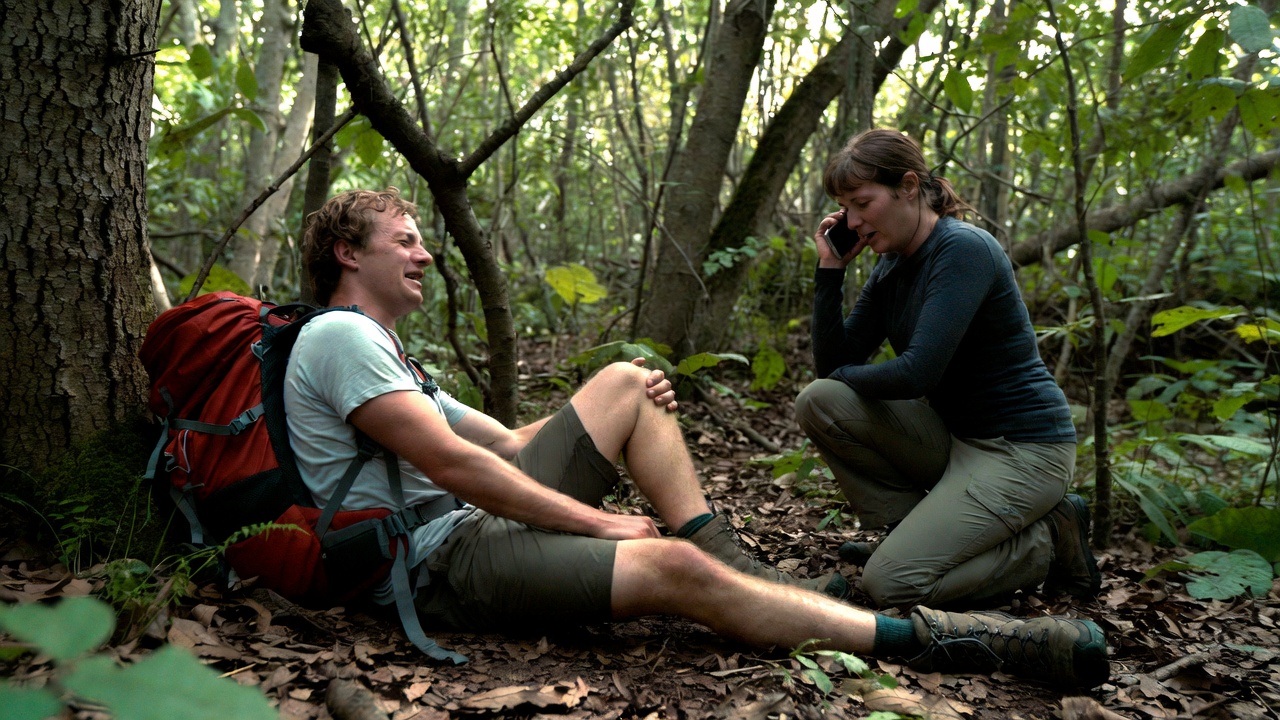
In any evacuation scenario, activate rescue as early as possible: a PLB (Personal Locator Beacon) or satellite communicator sends GPS coordinates directly to rescue coordination centers. Three of any signal (three whistle blasts, three fires in a triangle, three gunshots) is the universal distress signal. Signal mirrors can reach aircraft at 10+ miles on clear days.
Frequently Asked Questions About Wilderness First Aid
When should I apply a tourniquet in wilderness first aid?
Apply a tourniquet for severe extremity bleeding when direct pressure is failing or when the rate of blood loss is not compatible with survival through the evacuation window. Place the tourniquet 2–3 inches above the wound on the limb (not over a joint), tighten until bleeding stops completely, and record the exact time of application. A tourniquet that doesn’t stop bleeding completely is worse than no tourniquet — it impedes venous return without stopping arterial flow. Commercial tourniquets (CAT, SOFTT-W) are far more reliable than improvised alternatives.
How do I treat hypothermia in the field without professional help?
Remove wet clothing, insulate from ground, and add insulating layers. Provide warm (not hot) fluids if the patient is conscious and can swallow safely. Add chemical heat packs to armpits and groin. Handle moderate and severe hypothermia patients gently — physical disturbance can trigger cardiac arrhythmia. Do not rewarm rapidly, give alcohol, or allow the patient to exercise as a warming strategy. “Not dead until warm and dead” — patients in severe hypothermia who appear dead should be rewarmed before resuscitation is abandoned.
What’s the primary goal when someone has a head or spine injury?
The primary goal is preventing secondary spinal cord injury by minimizing movement of the head, neck, and spine. Manually stabilize the head in neutral position and maintain that stabilization throughout assessment and treatment. Log roll the patient as a unit for any necessary movement. Move a patient with suspected spinal injury without stabilization only when the immediate danger (fire, flood, ongoing hazard) outweighs the spinal injury risk. Always check airway first — an unconscious patient with spinal injury who is vomiting must be log-rolled to the recovery position to prevent aspiration.
Published by Chad Dyer, President, Brand Avalanche Media, Inc. Popular Outdoorsman is an independent editorial publication. Product recommendations reflect editorial judgment based on field experience and specifications review.


Reader Favorites
Field-to-table reference desk
From tag to table — official season dates for all 50 states, plus safe doneness temps for your harvest.
| Species | Archery | Firearm |
|---|---|---|
| Deer | Sep–Oct | Nov |
| Elk | Sep | Oct–Nov |
| Turkey | — | Apr–May |
All 50 state wildlife agencies, plus how seasons, tags and licenses work.
Find your state → Network| Doneness | Target |
|---|---|
| Rare | 125–130°F |
| Medium-rare | 130–135°F |
| Well-done | 160°F+ |
Safe pull temps for venison and steak, from Popular BBQ.
View full chart →