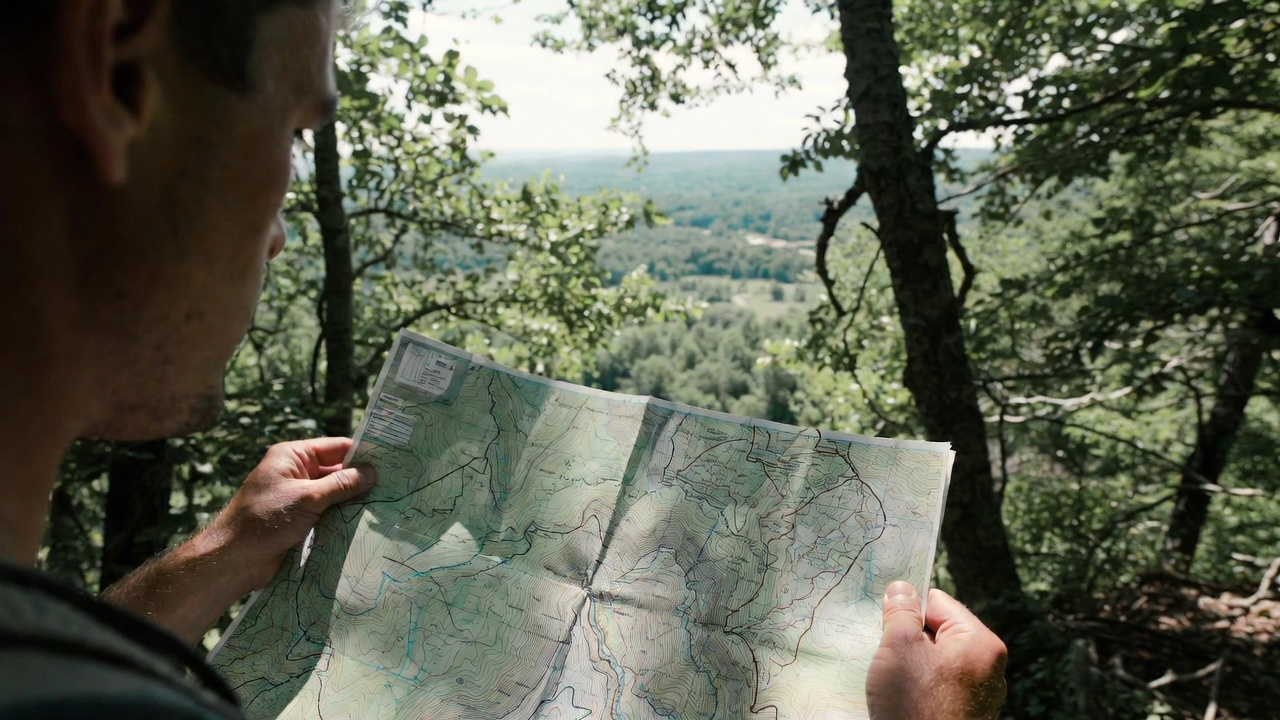
How to Navigate Without GPS: Map, Compass, and Celestial Navigation Guide
Last updated: October 6, 2026 · Originally published September 22, 2026
GPS beats a map and compass until the battery dies or the signal drops, which is when traditional navigation stops being a hobby skill.
GPS has made navigating the backcountry easier and more accurate than anything possible with traditional tools — until the battery dies, the satellite signal drops, or the device fails. In those moments, the ability to read a topographic map, use a baseplate compass, and find your position through terrain association becomes the skill that determines whether you walk out or get found. This is not a backup skill for emergencies only. It’s the foundational competency that GPS augments, not replaces.
This guide covers how to navigate without GPS across four methods: map and compass navigation, terrain association, celestial navigation using the sun and stars, and dead reckoning. It explains the skills systematically — how to take and follow a bearing, triangulate a position, interpret topographic features, and navigate at night using Polaris. For complementary skills, see the survival shelter guide and the best GMRS radios guide for emergency communication backup.
Topographic Map Reading
Understanding Contour Lines
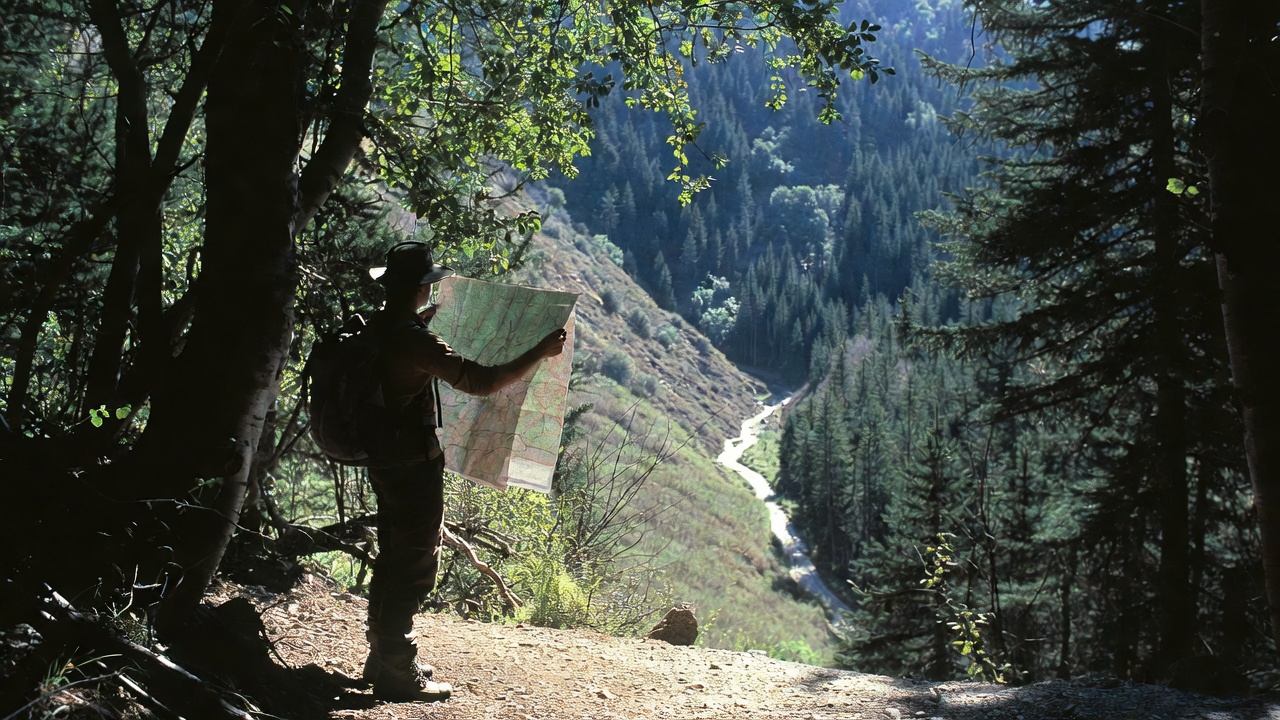
A topographic map translates three-dimensional terrain into a two-dimensional representation using contour lines — lines that connect all points at the same elevation. Every point on a given contour line is at exactly the same elevation. Understanding contour lines unlocks the map’s full information.
Contour interval: the elevation difference between adjacent lines, shown in the map legend (typically 40 feet on USGS 7.5-minute quadrangles, 80 feet on smaller-scale maps). Closely spaced contour lines indicate steep terrain; widely spaced lines indicate gentle slopes. Contour lines that form closed circles represent summits (if the innermost ring is highest) or depressions (if the innermost ring has tick marks pointing inward).
Key terrain features and their contour patterns: ridgelines show as elongated ovals with the highest point at center; valleys show as V- or U-shaped contour indentations pointing uphill; saddles appear as two high-point ovals connected at a narrow point; cliffs show as contour lines so close they appear to merge. Practice identifying these features on a map before you need them in the field.
Map Orientation
A map is only useful when oriented correctly to the terrain. Orient your map by aligning its north arrow with magnetic north (using a compass) or by rotating the map until mapped features align visually with the actual terrain around you. Once oriented, everything on the map corresponds to the actual landscape in the direction it appears on paper. Navigating with an unoriented map is the single most common cause of compass-following errors.


Compass Navigation
Compass Types and Components
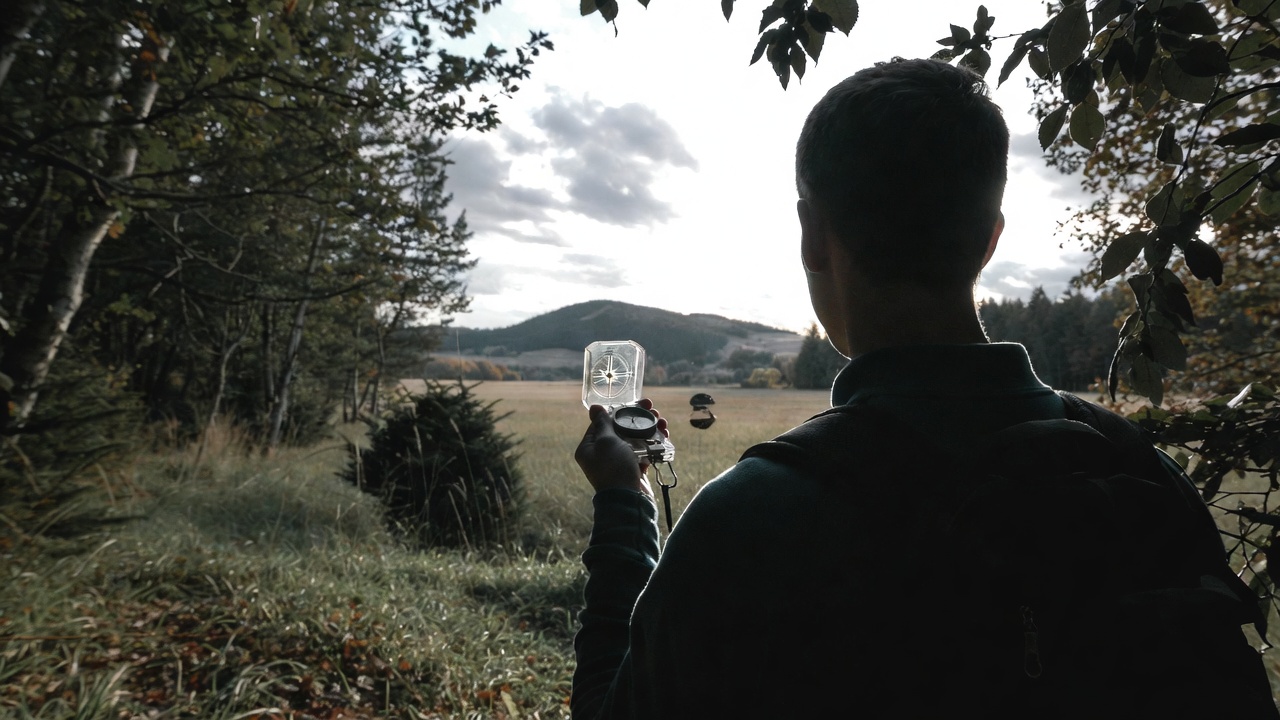
A baseplate (orienteering) compass is the standard tool for map navigation. Key components: rotating bezel marked in 360 degrees (0/360° = north, 90° = east, 180° = south, 270° = west), magnetic needle (red end points north), direction-of-travel arrow on the baseplate, and orienting lines on the bezel floor. Some compasses include a declination adjustment — important for areas with significant magnetic declination.
Declination is the angular difference between true north (the geographic North Pole) and magnetic north (where compass needles actually point). In the western United States, declination is typically 10–15° east; in New England, 10–15° west. Apply declination correction whenever taking a bearing from a map to the field, or the field to a map. Many navigation errors trace to ignoring declination.
Taking a Bearing
To navigate from your current position to a destination:
- Place the compass on the map with one long edge connecting your current position to your destination.
- Rotate the bezel until the orienting lines on the bezel floor are parallel to the map’s north-south grid lines, with the N on the bezel pointing to map north.
- Read the bearing at the index line (direction-of-travel arrow base) — this is your map bearing.
- Apply declination correction if your compass doesn’t auto-adjust: add easterly declination; subtract westerly declination.
- Hold the compass level, rotate your body until the magnetic needle aligns with the orienting arrow (“red in the shed”), and look in the direction of travel.
- Pick a landmark on that bearing — a distinct tree, rock, or terrain feature — and walk to it. Repeat.
Triangulating Your Position
When you don’t know your exact location but can identify at least two mapped landmarks, triangulation determines your position. Take a bearing to the first visible landmark, draw a line on the map from that landmark back along the reciprocal bearing (add or subtract 180°). Take a bearing to a second landmark, draw its reciprocal bearing line. Your position is at the intersection of the two lines. A third bearing confirms and corrects for compass or drawing errors.
For triangulation to work, the two landmarks must be clearly identifiable on both the map and the terrain, and the angle between your two bearings should be between 30° and 150° — bearings that are nearly parallel produce intersections with large error margins.
Terrain Association
Reading the Ground
Terrain association — navigating by recognizing and matching mapped terrain features to the actual landscape around you — is the most reliable navigation method in clear conditions and familiar terrain. It requires no compass, no declination calculation, and produces continuous positional awareness rather than point-to-point bearing hops.
The technique: identify your current position on the map, then identify the terrain features you’ll encounter along your route (a ridge crossing, a stream junction, a saddle, a distinct peak to the right). As you walk, confirm each feature as you encounter it. If expected features don’t appear on schedule, stop and reconcile your position before continuing. Skilled terrain associators navigate faster and more confidently than compass-only navigators in complex terrain.
Catching Features
A catching feature is a terrain element that tells you definitively where you are — or that you’ve gone too far. Before leaving a known position, identify a catching feature ahead: “I can’t go more than one mile in this direction without hitting the river.” Catching features work as backstops that prevent indefinite drift in the wrong direction. Combine them with handrail features — linear terrain elements like ridgelines, streams, or roads that parallel your route and keep you oriented laterally.
Celestial Navigation
The Sun
The sun provides reliable directional information in the northern hemisphere with simple techniques. The key principle: the sun rises in the approximate east and sets in the approximate west. “Approximate” matters — at summer solstice at mid-latitudes, the sun rises northeast and sets northwest. The sun is due south at solar noon (the highest point in the sky during the day), which is not the same as 12:00 PM clock time.
Shadow-tip method: plant a stick vertically in level ground, mark the tip of its shadow. Wait 15 minutes, mark the tip of the shadow again. Draw a line connecting the two marks — this line runs approximately east-west (the first mark is west, the second is east). A perpendicular line to this is approximately north-south. This works at all latitudes and times of year when the sun casts a shadow.
The North Star (Polaris)
In the northern hemisphere, Polaris sits within 1° of true north — the most accurate fixed directional reference available without instruments. Finding Polaris: locate the Big Dipper (Ursa Major), identify the two stars forming the outer edge of the dipper’s cup (Merak and Dubhe), and follow a line from Merak through Dubhe and extend it approximately five times that distance. The moderately bright star at that point is Polaris. Polaris is always in the north; face it and you face true north.
Polaris altitude (angle above horizon) equals your latitude. At 45°N latitude, Polaris is 45° above the northern horizon. This provides both direction and a latitude estimate useful for larger-scale orientation.
Stars for East-West Reference
Any star in the equatorial band rises due east and sets due west. Orion’s belt (three closely-spaced stars in a line) lies on the celestial equator and rises nearly due east regardless of your latitude. Watch a rising star for 15–20 minutes — its path tells you east. Stars near Polaris circle it counterclockwise and don’t rise or set at mid-latitudes; these are not useful for east-west reference.
Dead Reckoning
Pace Counting
Dead reckoning calculates your position by tracking direction and distance traveled from a known starting point. Distance measurement uses pace counting — counting every time your left foot strikes the ground (one “pace” = two steps). Calibrate your pace count over a known 100-meter distance on varied terrain — most adults average 60–70 paces per 100 meters on level ground, increasing to 70–80 paces on uphill terrain.
Pace beads (ranger beads) are a simple counting tool: move one bead for each 100 meters counted, move a larger bead for each kilometer. On flat terrain with a good compass bearing, dead reckoning maintains accuracy within 5–10% over several kilometers. Error accumulates — verify against known terrain features whenever possible and don’t rely on dead reckoning alone for distances beyond 2–3 kilometers without a position fix.
Combining Methods
The most reliable navigation uses multiple methods simultaneously. Use terrain association as your primary awareness tool, compass bearings to confirm and correct direction when terrain features are ambiguous, and pace counting to estimate distance between position fixes. Dead reckoning fills gaps when terrain features are too similar to distinguish. Celestial cues provide gross orientation checks — use them to confirm compass-derived bearings, not replace them.
Frequently Asked Questions About Navigating Without GPS
How accurate is map and compass navigation?
Accuracy depends primarily on practice and terrain complexity. Experienced navigators maintain within ±5% distance error over multi-kilometer routes in complex terrain. Beginners should expect 10–20% error, improving significantly with deliberate practice. The most common error sources are failure to account for declination, poor landmark selection for triangulation (too close together), and not stopping to reconcile position when the terrain doesn’t match the map. Map and compass accuracy in practiced hands exceeds GPS in areas with poor satellite reception (deep canyons, dense forest canopy) and eliminates battery failure as a failure mode.
Can I navigate by the sun and stars alone?
Yes for gross direction — within 10–15° accuracy. The sun rises east and sets west (approximately), Polaris is within 1° of true north, and the shadow-tip method produces reasonable east-west lines. Celestial navigation alone is not adequate for precise route-finding in complex terrain with significant hazards. Use it to confirm compass-derived directions, orient yourself after disorientation, or establish cardinal directions when your compass fails. Celestial navigation combined with terrain association is a viable emergency navigation system; celestial navigation alone is course-setting, not precise navigation.
What’s more reliable: map/compass or dead reckoning?
Map and compass with terrain association is significantly more reliable over distance. Dead reckoning accumulates error from pace count variation (uneven terrain, fatigue), bearing drift, and the absence of position-fix correction. Over 3+ kilometers, dead reckoning error can reach 300+ meters — enough to miss a feature or location by a meaningful margin. Use dead reckoning as a supplementary tool to estimate distance between terrain feature fixes, not as a primary navigation method for extended travel. Always verify dead reckoning estimates against terrain features whenever the opportunity presents itself.
Published by Chad Dyer, President, Brand Avalanche Media, Inc. Popular Outdoorsman is an independent editorial publication. Product recommendations reflect editorial judgment based on field experience and specifications review.


Reader Favorites
Field-to-table reference desk
From tag to table — official season dates for all 50 states, plus safe doneness temps for your harvest.
| Species | Archery | Firearm |
|---|---|---|
| Deer | Sep–Oct | Nov |
| Elk | Sep | Oct–Nov |
| Turkey | — | Apr–May |
All 50 state wildlife agencies, plus how seasons, tags and licenses work.
Find your state → Network| Doneness | Target |
|---|---|
| Rare | 125–130°F |
| Medium-rare | 130–135°F |
| Well-done | 160°F+ |
Safe pull temps for venison and steak, from Popular BBQ.
View full chart →